Beginner’s Guide to Layering for Snow Sports: Base, Mid, Shell Explained
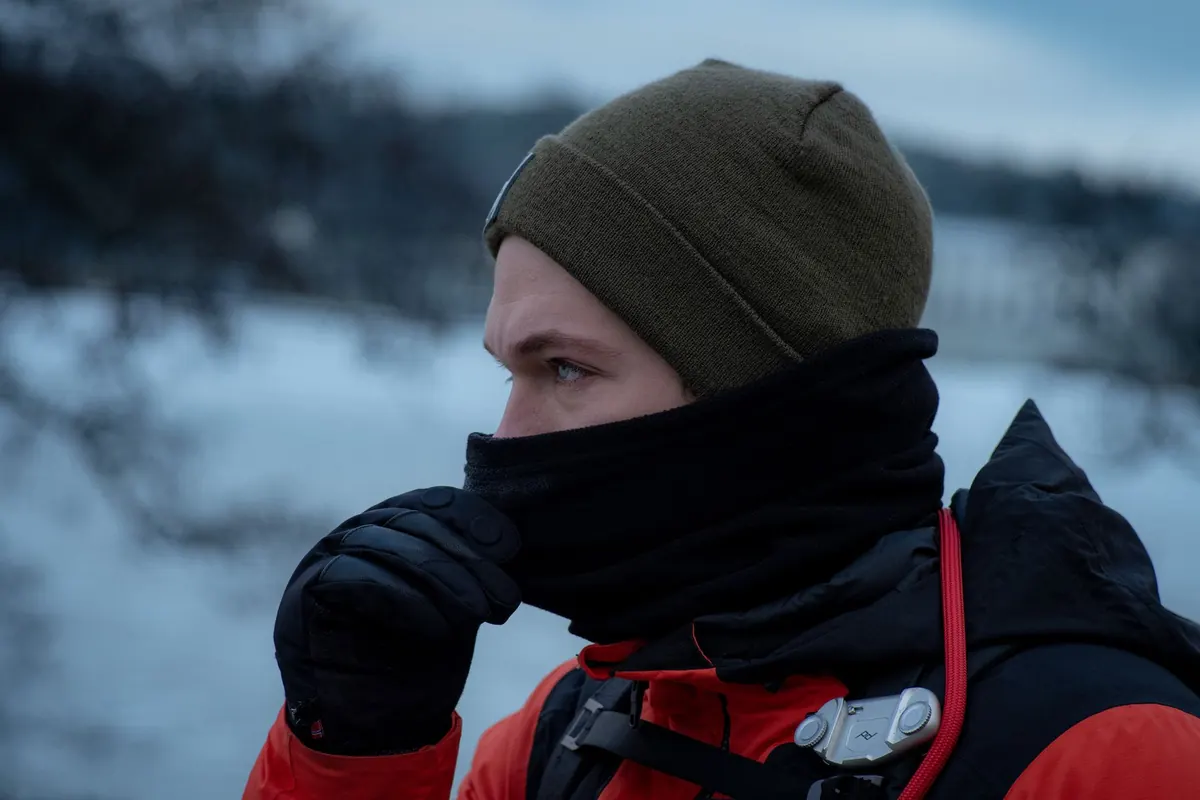
The first cold morning of a ski week usually teaches the same lesson twice. Someone rides the lift in a thick puffy jacket, overheats on the way up, then stands at the top while the wind picks up and the sweat turns cold against their back. The problem is rarely a lack of clothing. It is clothing that cannot be adjusted.
Layering is the fix. Instead of one heavy jacket that is either too warm or not warm enough, you build a small system of thin pieces, each with a clear job, and then you add or remove them as the day changes. It takes a little planning the first time. After that it becomes automatic, and it is the single biggest comfort upgrade a beginner can make.
The three layers and what each one does
Every snow-sports outfit, from a resort groomer run to a backcountry tour, comes down to three roles. A base layer sits against your skin and moves moisture away from it. A mid layer traps warmth. A shell blocks wind, snow and wet.
Beginners often skip straight to the shell, buying a big insulated jacket and calling it done. That works on very cold days and becomes a sauna the moment the sun comes out or you start working hard in powder. The layers underneath are what give you options.
Base layers: the one that touches your skin
This is where most discomfort starts. Cotton holds water against your body, and once it is damp it stays damp, which is exactly what you do not want when the temperature drops on the lift. Choose merino wool or a synthetic fabric designed for activity, both of which pull moisture away and dry quickly.
Fit matters more than brand. A base layer should sit snug against the skin without feeling tight or restrictive, with no folds bunching under a backpack strap or a hip belt. Long bottoms are worth having even if you usually run warm, especially in cold snow and on windy chairlifts.
What to look for
- Weight: lightweight for spring skiing and hard hiking, midweight for most winter resort days, heavyweight for genuinely cold conditions or for people who feel the cold easily.
- Fabric: merino blends for comfort and odor control, synthetics for fast drying and durability.
- Seams and length: flat seams, and a top long enough to stay tucked under your mid layer.
- Two sets, minimum: a spare dry base layer for the next day, or a change at lunch on a wet day, changes everything.
Mid layers: where the warmth actually comes from
The mid layer is your insulation, and it is the piece you will adjust most often. Fleece, a thin synthetic puffy jacket, a wool sweater, or a lightly insulated vest all work. Two thinner mid layers generally beat one thick one, because you can wear one for a mild afternoon and both for a storm day.
Think about how hard you will be working. A beginner spending a lot of time standing in lift lines and on gentle slopes generates less heat than someone skiing continuously, so a warmer mid layer makes sense. If you plan to hike, ride bumps or chase your friends around the mountain, go thinner and add a light puffy in your pack for stops.
Down and synthetic insulation both work; synthetic keeps more of its warmth if it gets damp, which is worth considering for wet snow and long days. A grid fleece or thin technical hoodie is one of the most versatile mid layers you can own.
The shell: wind, snow and breathing room
The outer layer has one main job: keep the weather out while letting some of your body's moisture escape. There are two broad options for beginners. An uninsulated shell is a thin, waterproof jacket you pair with your base and mid layers. An insulated ski jacket has its own padding built in, which simplifies things but reduces your ability to fine-tune.
For most resort skiers, an insulated jacket with a light base layer and a thin fleece underneath covers a wide range of conditions. If you ski hard, run warm, or travel between cold mornings and mild afternoons, an uninsulated shell plus a mid layer gives you more control.
Features worth checking
- Vents: pit zips on the jacket and thigh vents on the pants let you dump heat without stopping to undress.
- Waterproofing and taped seams: more important for wet snow and sitting on chairs than for dry cold.
- A hood that fits over your helmet and cuffs that close over or under your gloves.
- Snow skirt and high-waisted pants: the difference between a good day and snow down your back after one fall.
A worked example for a cold resort day
Say it is well below freezing at the base, the forecast is dry, and you expect to ski mostly groomed runs with a beginner group. Start with a midweight merino base layer top and bottom, a thin fleece mid layer, and an uninsulated shell with the vents closed. Add a buff, a warm hat under the helmet and decent gloves. Put a light synthetic puffy in your pack.
By the third run you will likely be warm. Open the pit zips. If that is not enough, take off the hat or the buff before you touch the fleece. At lunch, add the puffy while you sit still and eat, then take it off before you head back out. That puffy is not part of your skiing outfit on a day like this; it is your rest-stop layer.
Adjusting through the day
Temperature management is an active job, not a one-time decision. A few habits go a long way.
- Start slightly cold. You will be warm within a run or two. If you are toasty standing in the lift line, you are already overdressed.
- Vent before you strip. Open zips and cuffs first, and give it a few minutes. It is often enough.
- Work from the outside in. Hat, buff, gloves and vents first; then the mid layer; the base layer is the last thing to touch.
- Never let yourself sweat heavily. Wet clothing loses insulation value fast, and the ride up is where you will feel it.
- Dry out at lunch. If your base layer is damp, change it or at least open your jacket in a warm room and let the moisture escape.
Common mistakes worth fixing early
Wearing jeans or cotton leggings under ski pants is the classic one, and it is genuinely uncomfortable by mid-afternoon. Wearing too many socks in tight boots is another; it restricts circulation and makes feet colder, not warmer. Skiing in a huge parka with no vents turns every lift ride into a temperature swing. And forgetting that your hands, head and face need the same attention as your torso leads to a lot of shivering on otherwise well-dressed skiers.
A simple rule to take to the mountain
Dress for the weather at the top of the lift, not the weather in the parking lot, and expect to change something every couple of hours. If you own one good base layer, one thin fleece and one weatherproof shell, you can handle most winter days at a resort. Everything else is refinement. Pack the spare layer, use the vents, and treat getting slightly cold on the first run as a sign you got it right.
Photo: Nicolò Pais / Pexels